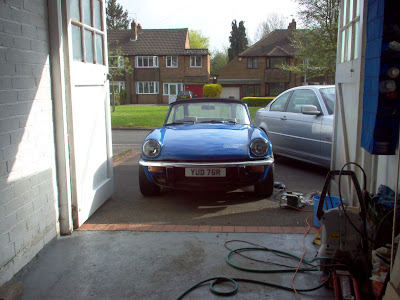
I've decided to enter the Club Triumph 'Historic Counties Run'. This year it's a coast to coast event that starts by the sea in Surrey and finishes, 14 hours later, on the Welsh coast. Apparently this will be a minimum of 400 miles. Combined with the journey down from the Midlands and the journey back it's probably going to be a minimum of 700 miles.
In order to cope with that kind of distance my car's going to need to be a bit more reliable! I've got no doubt that my car's in good enough condition to make it but I would like to fix the niggling little problems that've been really bugging me over the last few months. Unfortunatly the list of problems is not a small one!
Firstly there's the fueling. The carbs are worn which is leading to a very high idle. This is not exactly good for fuel consumption and neither is the repro fuel pump which is overpowering the valves in the carbs, letting fuel spray out under the bonnet. Obviously economy and safety are pretty important to me so it's vital to get this sorted before the run. The carbs need to see an expert and they will be going to Andrew Turner to be rebushed. The fuel pump is likely to be replaced with a pump from a TR7. Apparently these fit and don't produce too much pressure like the standard repro Spitfire pumps - the only difference is the position of the inlet and outlet. If replacing the pump dosen't work, I'll go electric and get an SU fuel pump mounted in the boot.
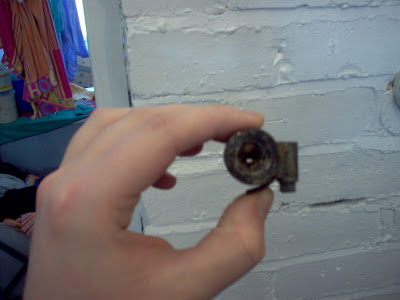
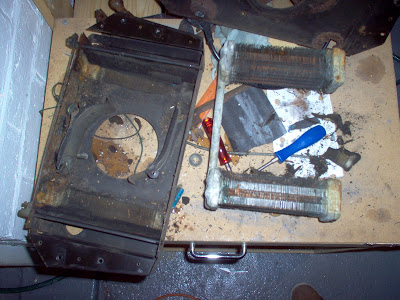
Secondly there's the heating. Not having a working heater or temperature gauge has been pretty annoying over winter! I started on this today. The heater valve was seized solid and no amount of penetrating oil was going to free it off! That was taken off and a replacement ordered from Rimmer Bros. A pressure washer was taken to the cooling system and I soon had the silt cleared out of the heater matrix. There was plently of it! The other problem was the temperature guage not showing the right temperature. I tested the guage by earthing the wire to the temperature sender against the block. This caused the guage to move upwards, revealing the sender to be at fault, so ordered a new one.
The third problem is the clutch. This is one I've been putting off for ages. The engine needs to come out so I can replace a weeping rear oil seal so I might as well replace the clutch while I'm there. The hydraulics are also leaking so I'll do that whilst I'm at it. I'm a bit annoyed with the hydraulics, in all honesty. The hose, slave and master cylinder are all new and it looks like the leaking has been caused by swarf from one of them damaging the master cylinder seals.
Then there's all the little problems. I need to drain and replace the diff oil, give the car a service and I need to Rain-X the windows and fit better wipers. Another thing I need to do is to adjust the headlamps properly and make sure they're able to stay on full beam for a prolonged period of time. Last time I used full beam in anger it overheated a contact and left me with no headlights on a dark country lane. Not something I want to do again!
If I've still got time I'm going to fit some AVO's and a lowering block to the rear.
One things for sure. I've got my work cut out for the next few months...


 I also got around to sorting out the hose that runs from the inlet manifold to the heater valve. This is usually a shaped piece of rubber hose but I wanted to replace it with silicone to match my other hoses. Having a custom hose made would've cost a fortune so I decided to use two 90 degree bends and a piece of alloy tube that I bent to shape. This looks good and gets the job done on time and under budget!


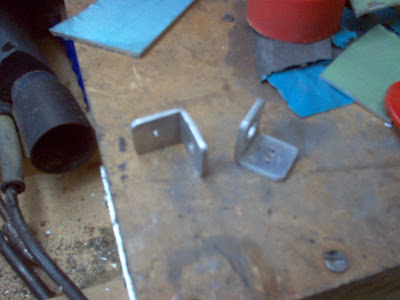
 I've also taken the heater valve bracket off. I was going to bid for a stainless one on


