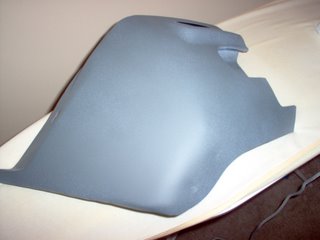
So, after dealing with a seized screw retaining the indicators I was left with just the metalwork. I fired up the angle grinder and stripped the paint off using a wire cup brush. For the edges and finer stuff I used a smaller wire brush in a drill. The reason for the awful cracked paint became pretty clear. It seems that the valance had been crudely painted black before getting a waxy stonechip style coat and then finally a colour coat on top. Naturally a waxy coat like that isn't the perfect base for a colour coat!
When it was in bare metal I noticed a few little knocks that needed fillering so I protected the bare metal with U-Pol Acid primer before giving a few spots a skim of filler. I then gave those areas a good wet and drying afterwards until the areas were super smooth (no perceivable ridge between filler and bare metal). I then recoated with etch primer to give 2 nice and thin coats over the area and when that had dried I smoothed it with fine wet and dry paper and gave it all 2 coats of zinc primer followed by, you guessed it, more wet and dry rubdowns! At that stage it was looking like much better! Check out the spot welds - I could have filled and smoothed them but I like them original!

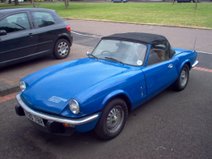
So I left that to dry overnight and started on it again the next morning. First thing I did was give it a couple of thin coats of regular primer. The zinc stuff isn't very smooth and this helps to give the colour coats a smoother finish. More flatting back followed that and then I could finally get on to the colour! One coat of Tahiti Blue (from a Halfords spray can) and it was now looking like this!
More news next time!


No comments:
Post a Comment