Saturday, January 28, 2006

Back on it's wheels!


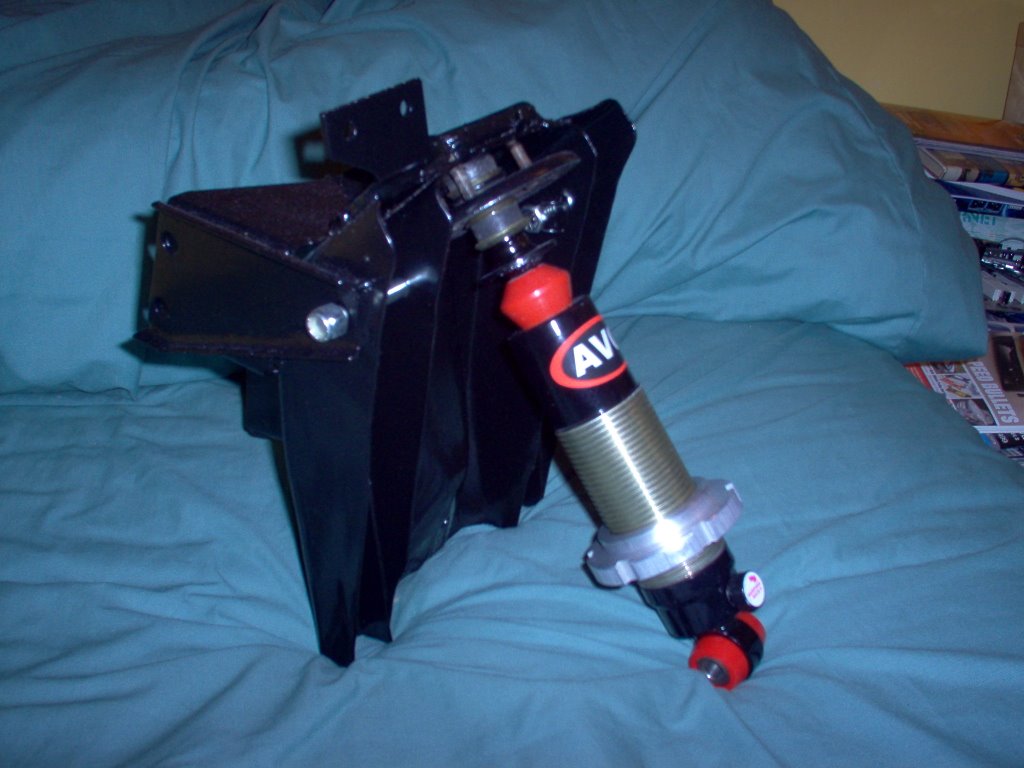
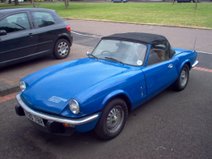
Finally its off the axle stands and back on it's wheels! I discovered that the previous owner used grease in the trunnions so they had to be added to the list of replacement parts after I carefully cleaned out the uprights, inspected them and sprayed them the same colour as the brake calipers.

I also had to make up some washers to space the steering arms correctly because I have removed the brake disc and caliper shields (although it is shown in the photo!). It was really simple, I bought some washers from B&Q that were the right diameter and thickness and drilled them out to be able to take the steering arm bolt.

Thursday, January 05, 2006

More Welding Needed

Unfortunatly I've found some more welding while I've been scrabbling about fitting the exhaust. The passenger side floorpan is pretty rusty along the line where it meets the sill. There's a fuel line running pretty close here so it's another thing to get professionally sorted.

Tuesday, January 03, 2006

More Exhausting Work

Well I sorted out what I'm going to do with the rest of my exhaust! I decided that I really wanted the large bore single box system from Canleys because I think the twin box systems are too common, mostly sound too boomy and add a bit of weight without really adding much performance. Unfortunatly the Canleys system was £146 and the twin box system offered by James Paddock was a good £50 cheaper. I called Paddocks up to buy one only to find that with VAT, delivery and fitting kit it was about the same price.

30 minutes later I was at Canley Classics buying the single box system. It looks absolutely awesome but took a fair bit of effort to fit. I had to drill a new hole in the boot floor to attach the bracket that the silencer hangs from and I used U clamps and exhaust sealer to join the pipes together. Once it was hanging from the car I noticed it wasn't very well supported. The manifold to head bolts and the single bracket was all there was! So I popped down to Halfords to get an exhaust mounting clamp and used it round the pipe adjacent to the diff. It needed to be sawn down to size but after that it fitted perfectly and the whole system seemed to be pretty solidly mounted. Job done!

Thursday, December 08, 2005

Springs

Of course now I'd got the AVO's I needed some springs to go with them. I gave Jigsaw Racing (http://www.jigsawracingservices.co.uk) a call and Mark Field recommended 380lb springs which are significantly stiffer than the 330lb Triumphtune springs I had originally planned to use. The Triumphtune springs are too fat for the seats on the AVO's so they were promptly Ebayed having been repowdercoated beautifully by Lap-Tab (I threw them in with a whole bunch of other stuff). I tried to get the original springs off the knackered dampers so I could flog them too but without proper spring compressors I only managed to get one off before the fear of being hit in the face by a spring became too much!

Tuesday, December 06, 2005

More new parts!


Feeling better after looking at some shiny parts I carried on working with a bit more vigour! The shock absorbers I removed were in one hell of a state so I looked into the replacement options. Standard shocks are available and very cheap but I didn't like what I was reading about them on the internet (that they were cheap and crap) so they weren't an option and AVO dampers were too expensive so that left me to choose between Gaz and Spax.

A couple of days later I had won a pair of Spax on Ebay and picked them up locally. They didn't seem to be too bad but I wanted them to be overhauled so I phoned up Spax who couldn't have cared less. Ten minutes later they were back on Ebay making me a profit and another chunk of my student loan was gone on a pair of adjustable platform AVO's from MotorSportWorld (http://www.motorsportworld.co.uk).

Wednesday, May 11, 2005

New parts!


Of course, having spent months painting the chassis, I thought it would look wierd if I didn't lavish some attention on the wishbones and suspension mounts too! I thought about painting them but it chips off too easily and Hammerite is just thick, nasty and gloopy so I started looking into powdercoating. Finding a decent powdercoater proved pretty difficult. One company needed everything posted to Leeds, another only did powdercoating in industrial size quantities and another wouldn't sandblast the parts first.

I was beginning to give up on the idea when I discovered Lap Tab (www.lap-tab.co.uk) who were just down the road, friendly and would sandblast everything first. They were pretty quick and weren't even that expensive (under £50 for the box load of parts I had coated). All the parts came back looking amazing and were fitted with polybushes ordered from Canley Classics and James Paddock the next day. Things were really coming on!

Tuesday, February 01, 2005

Braking News!


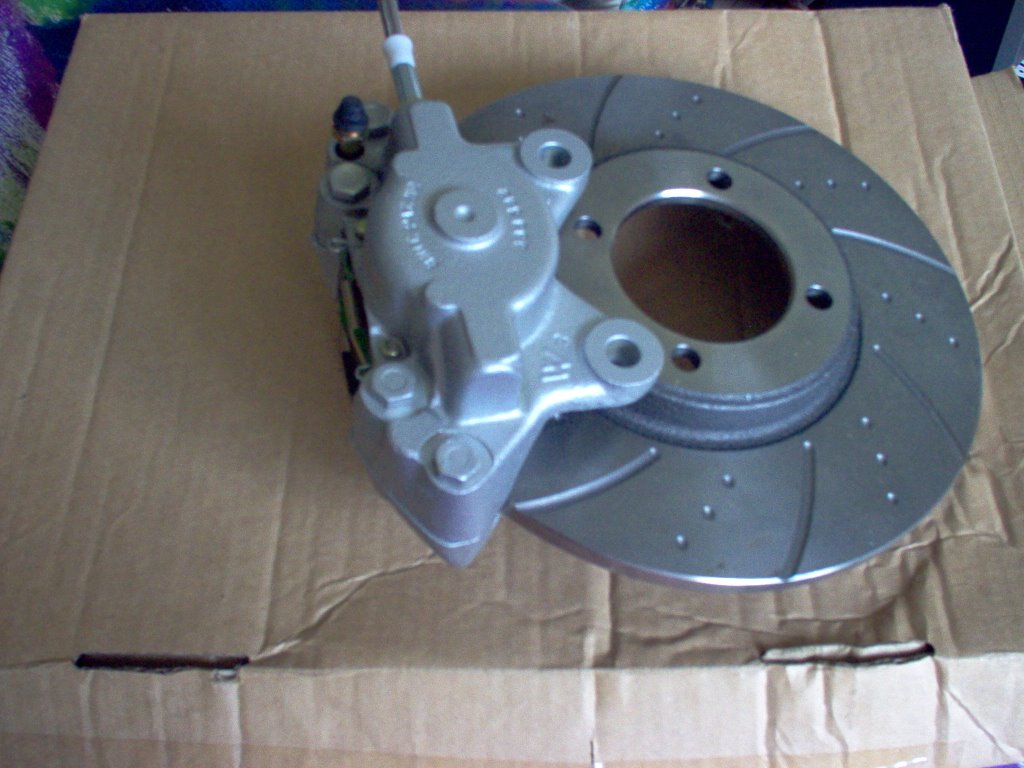
As I mentioned earlier the previous owner had managed to break off one of the bleed nipples in the left hand front caliper. The pistons were in poor shape on both calipers and I had to use a footpump to get them out. As I was planning to take it on a few trackdays I thought it wasn't worth taking a risk on them and so I ordered reconditioned calipers from Canleys. They arrived with a yellow plated coating for corrosion protection but I oversprayed that with some silver brake caliper paint to protect them further.

I was feeling particularly rich and also ordered a set of drilled and grooved brake discs, EBC 'Greenstuff' pads and Goodridge braided hoses. I'm sure there are people who buy these upgrades because they look good, but I'm not one of them! If I don't notice and improvement in performance they'll be straight on ebay!

Friday, January 28, 2005

Exhausting Work!

Stupidly, replacing the exhaust was one of those jobs that I thought I could do really easily whilst I was waiting for other parts but it just ended up being at the bottom of a long list of things to do and was a bit of a pain.

Whilst removing the carbs I noticed that the standard exhaust was connected to the manifold by only 2 studs, the other one having been welded in and then broken. Of course I was pretty pissed off but at least it explained those mysterious headaches! After a lot of metal bashing and pulling I got the old one off and put it up for sale on Ebay where it made about £15. The chap came to pick it up on his way to Canley Classics and we talked Spitfires for about half an hour. He showed me some pictures of his beautiful MkIV which looked to be in stunning original condition. Certainly one to look out for in the future!

So that left me needing a new exhaust. James Paddock (www.jamespaddock.co.uk) had a special offer on so I picked up a stainless 4 branch extractor manifold for £105.

When fitting it I noticed that the flange that attaches to the cylinder head wouldn't mount up at the same time as the inlet manifold. I eventually solved this by grinding the excess metal off the flange and mounted it up. Only then did I discover that the pipes that run under the car were touching the bellhousing. A bit of bending later and there was about a millimetres clearence.

I'm looking into the posibility of using a bit of heatwrap on the exhaust and I'm still trying to decide what to do about the rest of the system!

Thursday, December 09, 2004

Dashboard Confessional

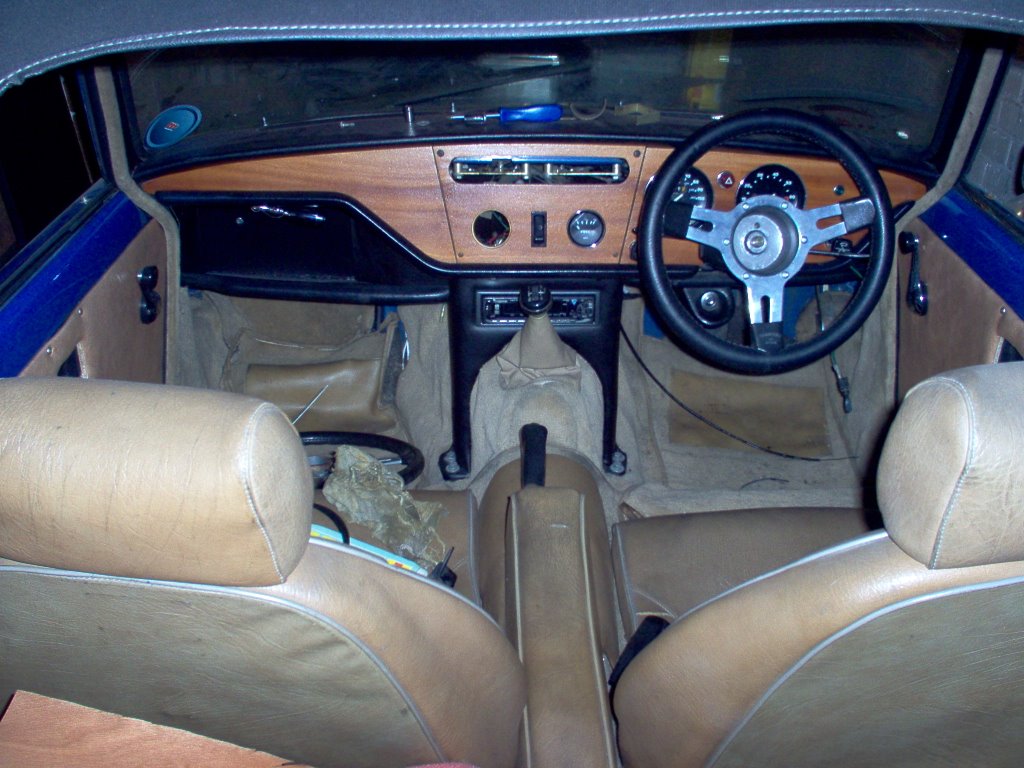
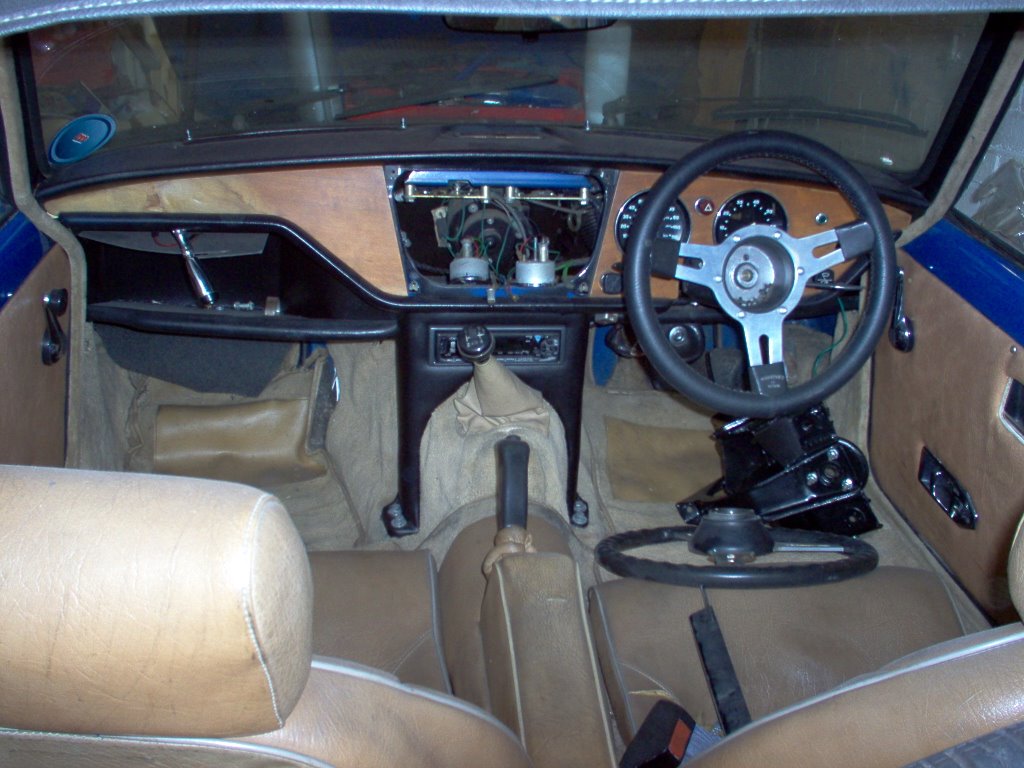
Yes, I'm got myself involved with another job that didn't really need doing. The varnish and veneer on the dashboard was flaking off and it looked terrible, particularly on the passenger side. So, having laughed at the prices charged by the TSSC (£185 to you, sir!) I set about reveneering the dash myself.

I've always thought Spitfires just look plain wrong with burr walnut dashes (its a sports car for gods sake, not an Rolls Royce!) so I set out to find something that looked similar to the original. The closest match was some Brazilian mahogany from Vale Veneers (www.valeveneers.co.uk) so I ordered enough to do the whole dash for a £7.20. After buggering up a number of times and spending another £7.20 the dash was looking good but required sanding that seemed to go on forever!

I was planning to include a T pull for a fire extinguisher system (to be added at a later date) where the cigar lighter is on later Spitfires. I didn't have the balls to drill into the newly finished dashboard though, so I made up an aluminium bracket to mount it under the dash on the passenger side (where it will be out of the way!) although I haven't fitted it yet.


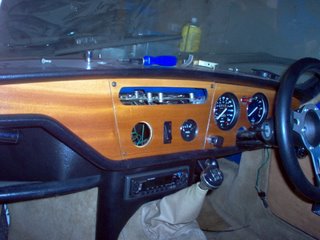
This last photo shows the dash up close. I went to a lot of effort to make sure the grain flowed perfectly through all of the panels and it seems to have paid off!

Friday, December 03, 2004

Ebay Bargains!


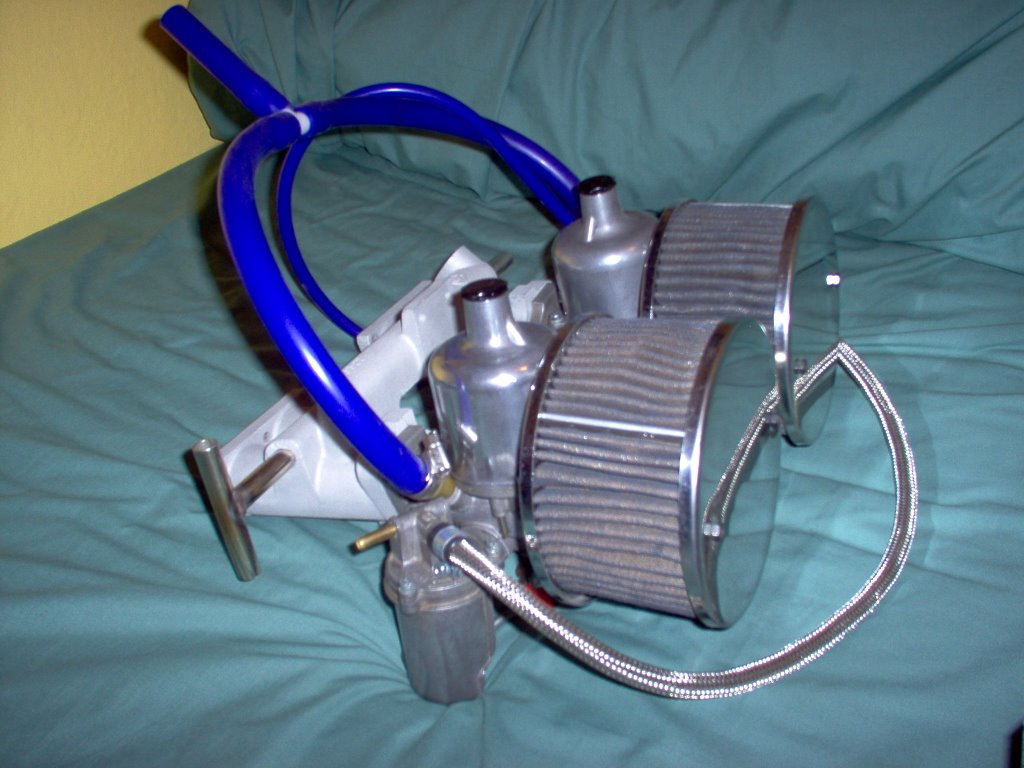
While the car was undrivable I sensibly decided to make more work for myself by rebuilding the twin SU Carbs. I was a bit nervous about taking it all apart but soon made myself quite unpopular in my house at Uni by making it smell of petrol and carb cleaner. I did it one carb at a time and used plenty of diagrams to avoid making mistakes. I bought all the gaskets I needed and some solid throttle discs (with no over-run valve) from Canleys as its important to use genuine SU parts and I didn't want any problems later. The throttle shafts were okay but are on my list of things to replace in the near future.

After removing the inlet manifold I discovered the water pipes were knackered and so I bought a replacement from the TSSC (www.tssc.org.uk) with stainless pipes. A few bits of 13mm silicon hose, some braided fuel hose (www.holden.co.uk) and some K&N's of Ebay and the job was done. The K&N filters were bargain of the decade because the owner didn't know what they would fit! I got them for just £12!

Wednesday, September 01, 2004

Suspension Rebuild


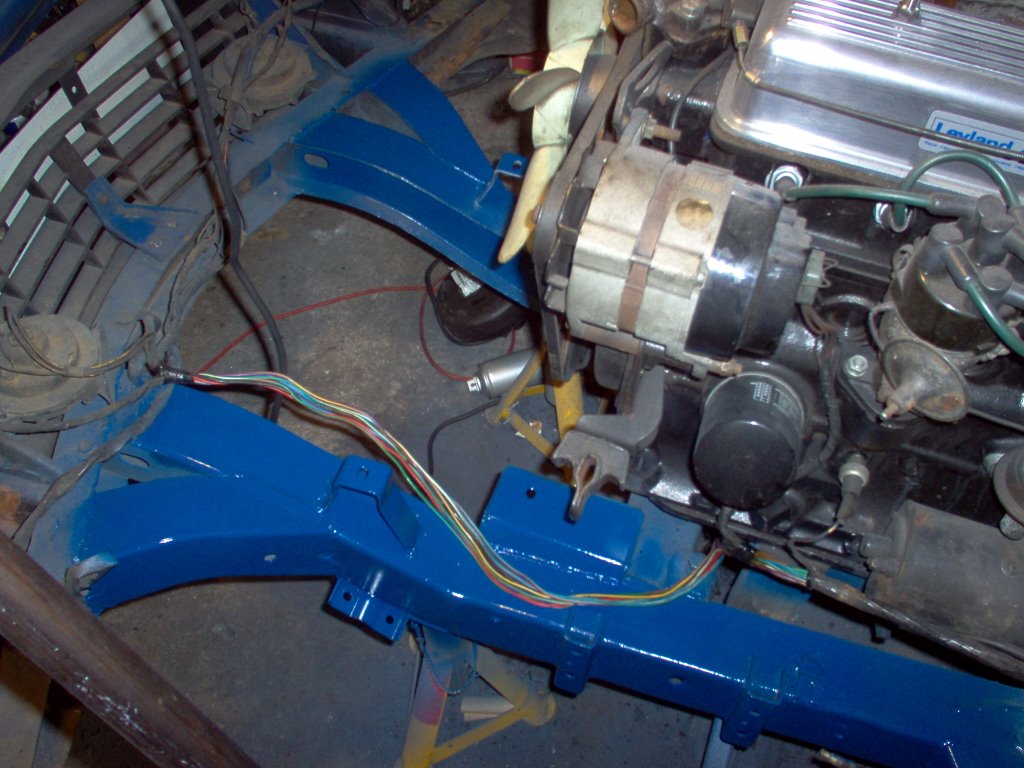
Having had a few months of driving the car about I am beginning to notice that the Spitfire clunks and clanks its way over the lumps and bumps in the road and that there is quite a bit of slack in the steering. The causes were obvious after poking around under the bonnet for a couple of minutes. ALL the bushes I could see were powdery and breaking apart and the steering ball joints had a lot of slop in them. On closer inspection the brake calipers didn't look too clever either because the previous owner had broken the bleed nipples off and just left them. This rebuild was quickly getting out of hand but I coudn't leave it having noticed how bad it was! I stripped off all the suspension, radiator and anti roll bar. I thought I might as well paint the chassis while the suspension was off and began the slow process of getting all the oil, Dinitrol and rust (and even some paint!) off the chassis.

Saturday, January 10, 2004

Chassis Crack

Rather annoyingly I've discovered that the chassis has an annoyingly small stress crack by the hole where the passenger side lower wishbone mounts. Apparently its common on cars that have had a trunnion fail in the past. My first thought was that it might have been caused by the device the AA used to tow me home when the engine failed, but there's no way to prove it either way. Only one thing for it.....spray over it for now and get it seen to professionally later.

Monday, September 22, 2003

Polished Alloy Valances


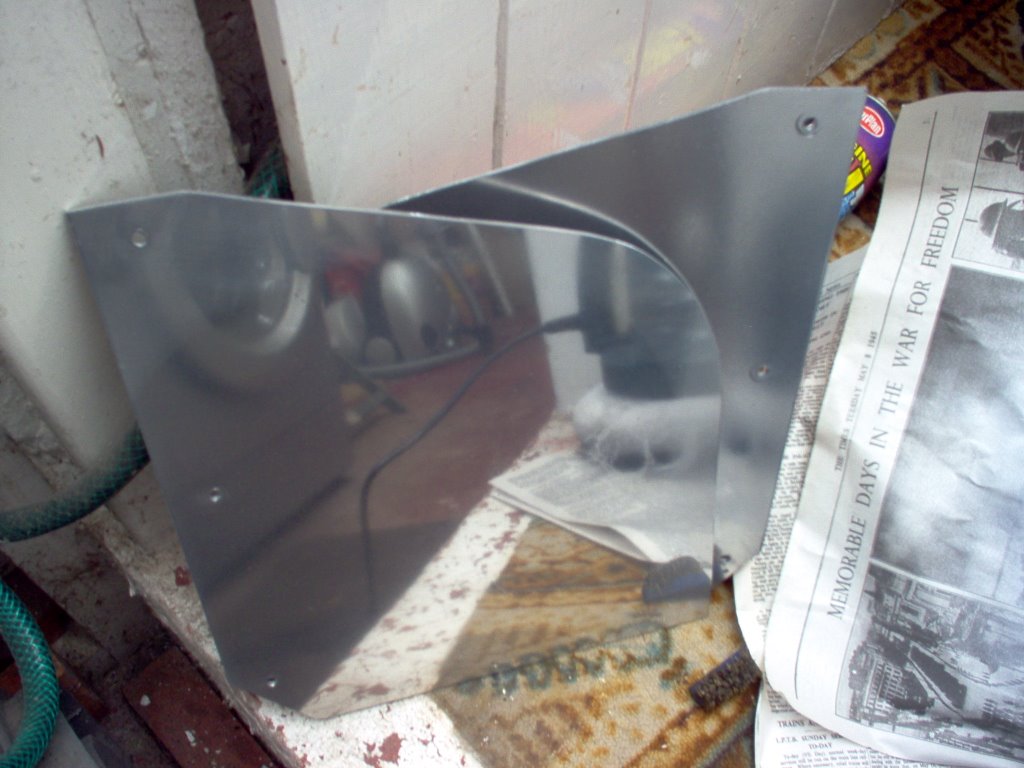
My grandad and I made these alloy radiator valances today. All we did was cut the aluminium (very easy when its only 2.5mm), sand down the edges, polish and give them a good coat of laquer. I then just drilled 3 holes in each so I could mount them to the radiator cradle with rivets.

Thursday, August 28, 2003

Dash Support


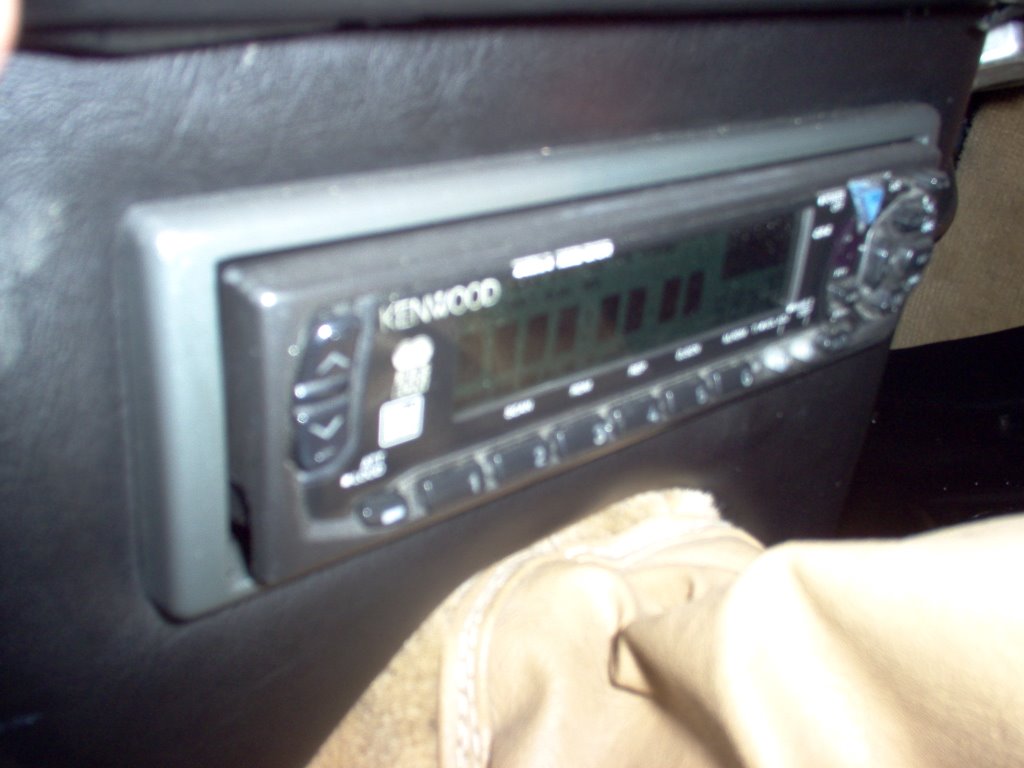
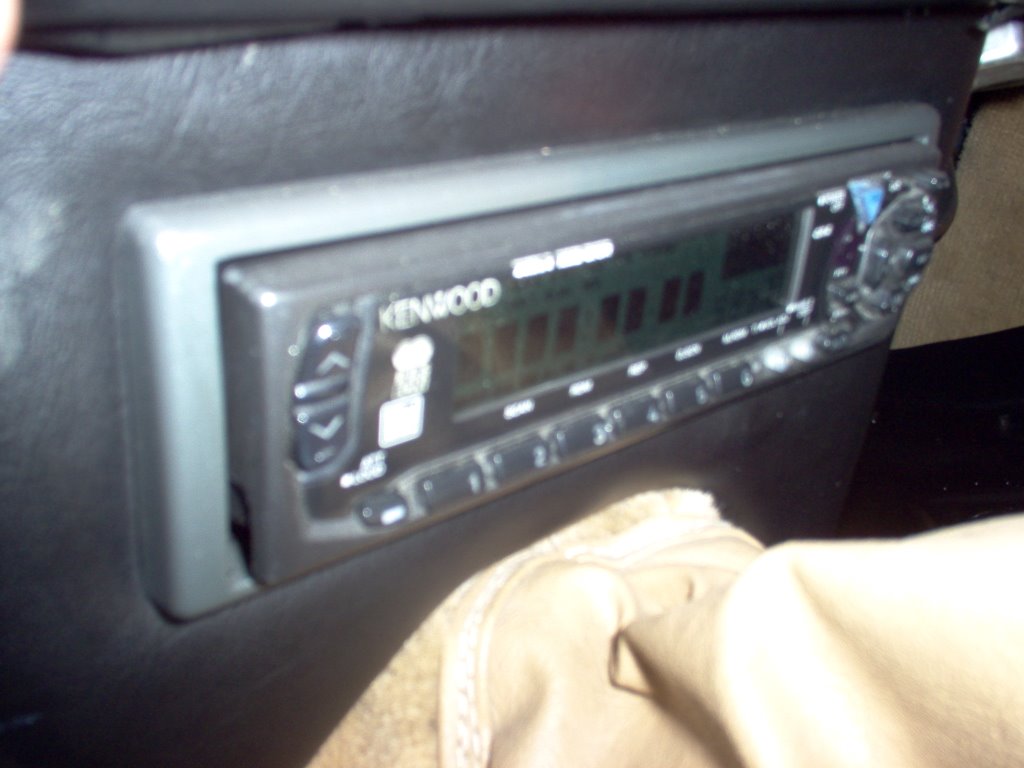
Just thought I'd post a picture of my dash support because the radio fits into it without any visible 'radio plate' and I think it came out looking pretty impressive. I put the support onto a sheet of MDF and drew round the edges of the huge radio hole. I then cut this out of the MDF and cut out a DIN size rectangle in the middle. Then I cut a DIN size hole in a larger peice and screwed this to the back of the support. I then glued the first peice in to fill the gap, covered it in vinyl and fitted the radio cage. Job done!

Friday, July 11, 2003

More clutch problems!

So having rebuilt the clutch slave cylinder I thought my clutch worries were over but, of course, there was lots more to fix! The change into third was still dodgy and it seemed to be far too easy to grate the gears. I figured the slop in the gearleaver might be causing the dodgy change so I ordered the 'Gearbox rebushing kit' from Canley Classics. Unfortunatly when it arrived I discovered it was for the earlier 3 rail gearbox! It was promptly auctioned off on Ebay where I made a significant profit on it! Later on in the week I realised the problem was with the pivot pin that fits on one side of the release arm assembly. Apparently this is a common problem and it is highlighted in the Canley Classics catalogue. With that drifted into place and the E ring attached it was sorted and the car was finally decent to drive!