Showing posts with label valances. Show all posts

Tuesday, February 09, 2010

Fun with POR15!

POR15 is a really tough finish paint that is a great way to finish off loads of underbonnet parts. It leaves a very glossy and durable finish but requires a bit of care to apply. This is my quick guide to using POR15 and getting the best results!

Firstly, if you're painting something really smooth (like these aluminium radiator valances), you're going to have to rough the surface up a bit. I used a fairly fine sanding block which just took the shine off the metal without leaving any deep scratches. Once that's done you need to degrease using POR15's own degreaser. This is called 'Marine Clean' and is a vaguely greenish liquid that you dilute with water and coat the part with. This normally comes in a screw top bottle but I have prediluted mine and decanted it into an old spray bottle. After leaving to soak for a while, wash off the part with plain water.


The next stage of the process requires the use of 'Metal Ready'. This is another POR15 product and is basically a blue liquid that seems to etch the metal slightly. I guess that this contains phosphoric acid but I don't know for sure! You need to keep the surface of the part wet for a minimum of 15 minutes. Again, I have decanted mine into a spray bottle to make this easier. After 15 minutes or so you need to wash the piece again to clean off any residue.


The etched surface is slightly grey and sometimes a bit 'powdery'. This is OK! You are now ready to move on to the next stage...


You now need to be quite organised to avoid making a mess. I'd advise you to use plenty of newspaper over your workbench as it's going to be near impossible to clean up if it all goes wrong when you're pouring it! Get your brushes ready and also have some cling film and a jam jar ready. It's also wise to wear gloves because this stuff is pretty difficult to get off!

So, what you need to do is to open the tin of POR15 very carefully and either pour it or use a coffee scoop to transfer it into the jam jar. It is VERY important that you cover the tin with the cling film before you put the lid back on. If you don't you'll have to use water pump pliers to rip the lid off - trust me on this! Now you're ready to paint.

I strongly recommend using a foam brush. The POR15 starter kit comes with one or you can buy a pack of 20 for £5 off eBay. This will help minimise brushstrokes and will look neater. It goes on pretty easily. Don't stress too much if it looks a bit 'brushstrokey' as it seems to level really nicely after about 15-20 minutes. If you have paint left over in the jam jar you can seal it with cling film and use it later. Stored like this it seems be usable for a few days before it drys out.

And there we go! It should be touch dry in around an hour. Unfortunately one of the disadvantages of POR15 is that it's not UV resistant. Apparently it discolours and turns brown with prolonged exposure to sunlight but won't actually fail. In order to prevent discolouration you can use another POR15 product which is resistant to UV, such as 'Blackcote', which is what I have used here.

And that's it! You're done! One of the common misconceptions about POR15 is that you can't get it off anything. They actually do sell a thinner that you can use to clean brushes etc but it's quite pricey at around £20. That seems pretty expensive when you consider that the starter packs cost around £15 and contain 'Marine Clean'. 'Metal Ready', paint and two brushes! When I get it on my hands I find it comes off easily enough if I wash them straight away. If it dries then it takes a few days to wear off!

Sunday, September 20, 2009

Oil Seals and Engine Valances

I've been pretty busy at work recently and haven't actually had much time to do anything with the Spitfire. It's spent most of the year stuck in the garage waiting for me to sort out the oil seal problem that became apparent during the HCR!

I finally got around to draining the coolant and getting the timing cover off to see what the problem was last weekend. There wasn't anything too obviously wrong which was a bit annoying but the spring on the seal was a bit mangled and the timing cover was slightly bent. I flattened the cover and sanded it flat. I also stripped the paint of it and gave it a coat of VHT wrinkle paint. I fitted a new seal but I haven't got around to filling it back onto the car yet. With a bit of luck I should have a car that doesn't leak at much oil as a sinking supertanker.


I've also finally got around to finalising my engine valances. I put a lot of effort into making sure these fit perfectly and all that remains is to finish the edges, drill them for brackets and get them powdercoated. I'll try and get that done later in the week!

Sunday, March 01, 2009

Heater Box Issues

A while back I mentioned that I was looking for a heater box to replace the rusty one with a broken linkage that came off my car. I did eventually manage to track one down on Ebay nut when it arrived I realised it wasn't going to be as simple as just chucking it in the car!

It was advertised as a 'Mk4 and 1500' heater box so, naturally, I thought it'd be the same as the one I had. It was, however, slightly different internally, with a different resistor and motor wiring! After carefully studying the two designs I decided the best course of action would be to drill out the rivets holding the internals in the original box and remount them in the new one. In order to do this I had to cut out the different brackets in the Ebay box. This then left a couple of small holes close to each other.
Obviously it's not great having holes in a heater box, so I decided the best thing to do would be to drill them out into one big hole and fit a grommet. This seems to be working out okay so far and I'm just waiting for some POR15 to arrive so I can paint it.
I've finally got around to cutting out the passenger side engine valance. These are coming on slowly and just need a bit more fettling to fit. Then I can make some brackets for them and maybe finally get them powdercoated!


I really want some parts to arrive this week. The HCR is getting nearer and I'm still waiting on a list of parts as long as my arm. Moss said my alloy bellhousing would take two weeks and that was just over two weeks ago so hopefully that'll be arriving soon. I'm also still waiting on my alloy water pump housing. I was told at the end of Jan that it'd take a week and it's still not here!

Sunday, January 18, 2009

Engine Valances - Part Three

This is turning into one of those projects that I wish I'd never started! Today I made my final design templates and started translating them into aluminium. There is finally light at the end of the tunnel!

Tuesday, January 13, 2009

Engine Valances - Part Two

Much fettling of the drivers side valance has been going on this evening in order to improve the fit. I'm still a long way from happy with it and I haven't even got around to designing the heatshield for the carbs which I want to include, but things are coming along nicely at long last!

I took a pretty methodical approach and bolted the cardboard template in place. I was then able to use the fixing bracket as a datum point - this allowed me to combine the template of the valance with a profile template of the bulkhead that I made earlier. The result is that the template follows the profile of the bulkhead really nicely with only a 2-3mm gap between. The same is true with the cut outs for the air filters. Now I've got that sorted I'd really like to tighten up the gaps at the front and around the suspension and sort out what's going to happen at the lower edge.

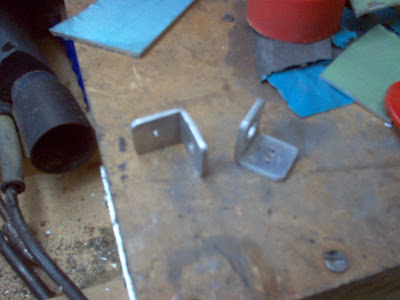
And finally a picture of the brackets where these valance mount up. These take two bolts and are located 1 3/4 inches above and 1/8 of an inch inboard of the body mounting bracket.

Sunday, January 11, 2009

Engine Valances - Blue Peter Style!

One of my winter projects is to make a set of engine valances. I want them because I think they might keep the engine a bit cleaner and also because I want to have something to attach an oil catch tank to!
First of all I started by ordering some material. I've got a few other projects in mind that are going to need some aluminium so I ordered a metre squared of 2mm aluminium from a supplier on Ebay.

Then I started thinking about the valances themselves. When I made my radiator valances I used the old cardboard ones as a template. This time I wasn't going to be so lucky! I've never had a set of engine valances on my car so I was going to have to start from scratch. I started off by looking at Paul Tegler's excellent website (http://www.teglerizer.com/triumphstuff/spitenginepanels.htm) and decided to make some panels up in cardboard to see if they'd fit!

Fortunately the recent purchase of a couple of heaters meant we had a few cardboard boxes lying around that were perfect for this sort of thing! I started off by marking out the cardboard as per the instructions. I noticed a slight problem straight away. There is no length given for the distance between points A and B. It was only a minor part of the overall design so I left it - the beauty of cardboard is that things can always be adjusted to fit later!


Once I'd marked it all up I set about cutting it out using an X - Acto style knife. This is much easier than using scissors and leaves a much nicer edge. I took the template out to the car and offered it up.

Straight away it didn't look quite right. There was a 2 inch gap between the bulkhead and the valance and I couldn't work out what the hell the circular cut out in the bottom was for! I'm ashamed to say it was quite some time before I realised the (now) blindingly obvious and turned it the right way around! Thanks to Neil (neilnaz) on the CT forum for the picture he posted to show me how the valance mounts up - it helped me realise where I'd gone wrong.

I had presumed the longer bit would be at the back but that is not the case! With the panel the right way round it was obvious that the circular cut out was for the steering rack. The only thing that wasn't quite right was the front part where the template meets the radiator frame. The angle of the frame on mine seems to be a bit 'non standard'. Other than that though it fits great! I do need to sort out the top edge though. It's going to need some material removing to allow the air filters to fit!

Feeling flushed with success I set about building another template for the other side.

This was a much less brilliant fit! I don't know quite what the hell went wrong but basically it just looks ridiculous! I couldn't find any errors in my template so I guess it's just the plans. At least I tried it out on the cardboard first! It's quite possible that I've made a huge and very comical error so if anyone out there knows where I went wrong, please let me know!


Luckily the good template from the other side seems to fit perfectly on this side too so I think I'm probably going to just make two identical ones.
Monday, September 22, 2003

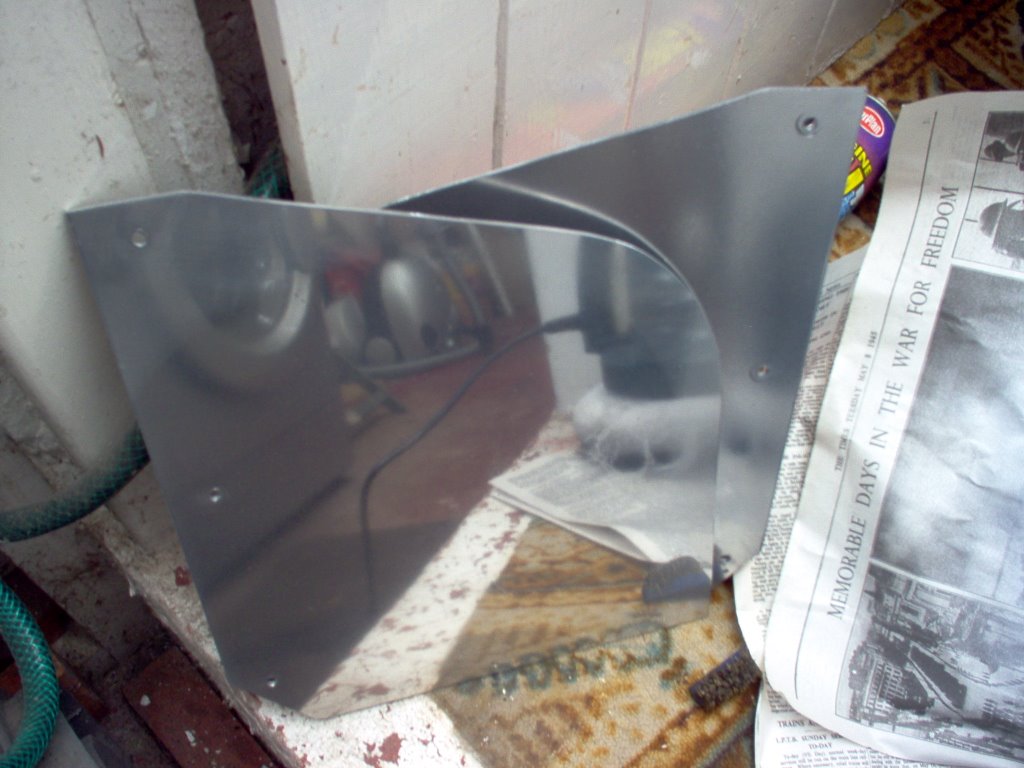
Polished Alloy Valances


My grandad and I made these alloy radiator valances today. All we did was cut the aluminium (very easy when its only 2.5mm), sand down the edges, polish and give them a good coat of laquer. I then just drilled 3 holes in each so I could mount them to the radiator cradle with rivets.